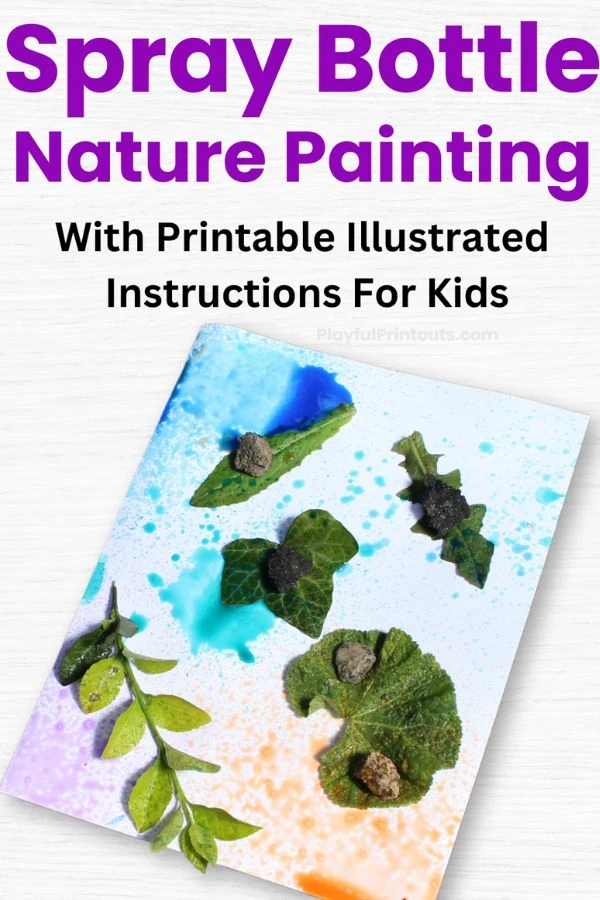
This colorful spray bottle art project is a fun way to be creative with nature! Not only is the project easy to set up, but it only uses a few cheap supplies. As a fun bonus, you can even turn it into a fun science activity. When you use nature in art, there are so many things you can try.
Materials Needed For the Spray Bottle Leaf Art Project
Affiliate links below and throughout the article.
- Spray bottles
- Liquid Watercolor Paints (or Food Coloring & Water)
- White construction paper or card stock
- Various nature items (leaves work best)
- Printer (like Epson Eco Tank with extra long-lasting ink)
Set Up and Process
If you aren’t using liquid watercolors, you’ll have to start by prepping the spray bottles. If this is for a classroom project, I highly recommend completing this step before introducing the project to your students.
To prep, fill each bottle with about a cup of water and add a few drops of food coloring. Shake well. If you can, use clear spray bottles so you can easily see the colors inside.
Test the colors on a scrap piece of paper until you’re happy with the shades. Keep adding food coloring until the color is as dark as you like.
After preparing the bottles, it’s time for a little nature walk. Let your kids take their time exploring outdoors.
As they walk, have them collect various items like leaves, small branches, wildflowers, sticks, acorns, pine cones, and stones. These natural finds will become the heart of your child’s art project.
Once all the supplies have been gathered, it’s time to lay them out on the paper. To ensure that the paint soaks in, it’s important to use absorbent paper like construction paper, cardstock, or watercolor paper.
Once the paper is ready, your kids can arrange the nature items on top however they like. If it’s windy, you may want to use small stones to weigh down the leaves as well as the paper.
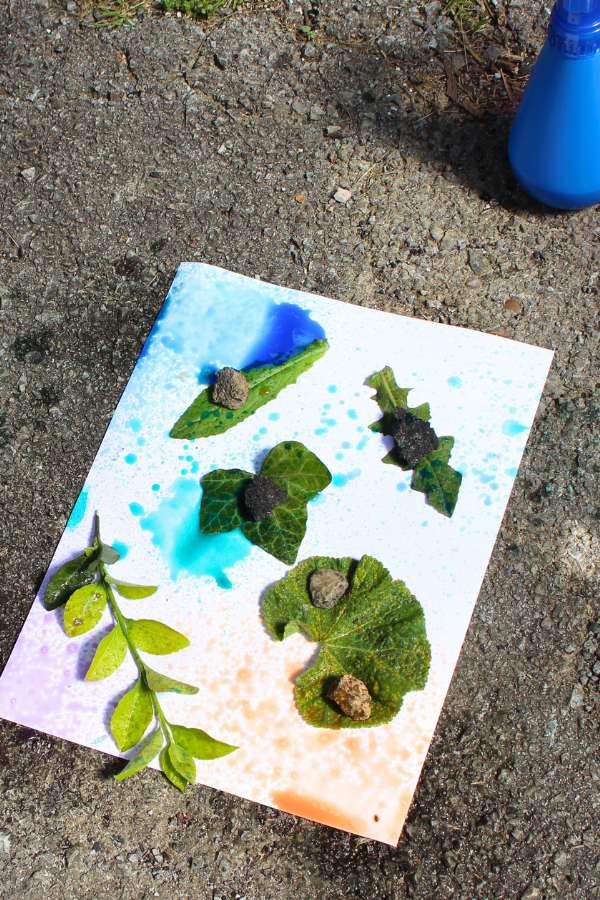
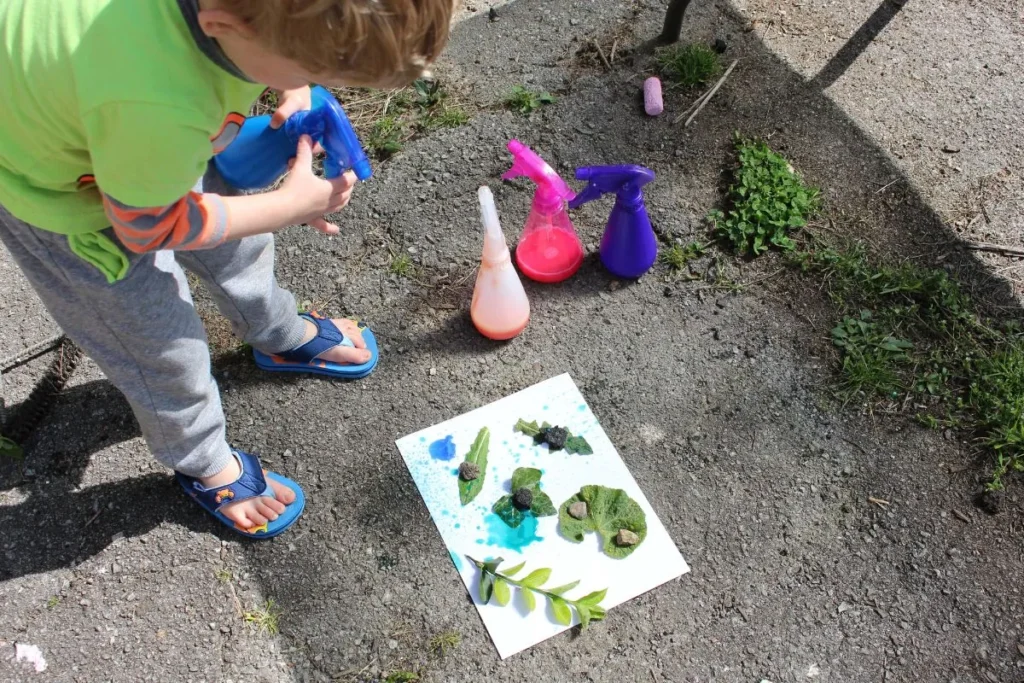
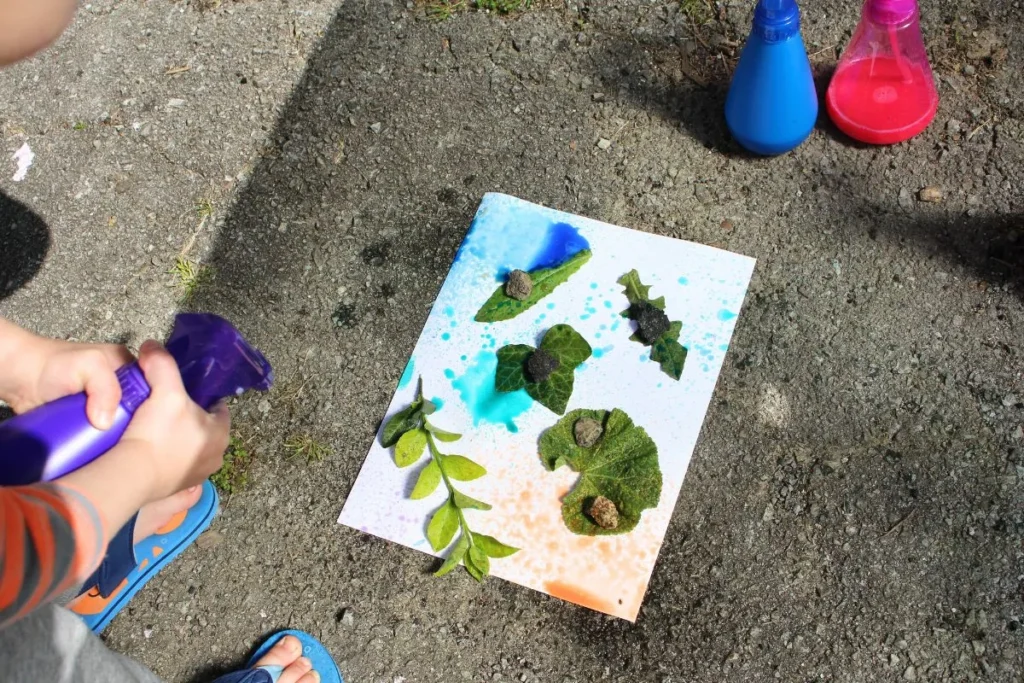
Now the really fun part! Have your kids spray the colors all over the paper. They can spray as much or as little as they want. There is no right or wrong way to do it. Just be aware that both the liquid watercolors and the food dye can stain clothes.
As they spray, the nature items will resist the colors leaving their white outlines in the middle of vibrant paint spritzes. It’s an awesome effect.
Let the paper dry completely before removing the leaves to prevent stray drips.
Transforming This into a Science Project
This nature art craft can easily be transformed into a cool science project by having your kids guess which items will resist the paint best. Not only does the surface area and shape of the items matter, but the way you weigh down the items can also affect how much paint seeps underneath.
When I did this project with my kids, the pine branches didn’t work very well for us, but the flat leaves did.
Have your kids record their guesses on a piece of paper and compare the final results once the project is finished.

More Spray Bottle Leaf Art For Kids
Kids can use this same process to create adorable spray-painted cards. They can add the cards to a gift or simply use them to brighten someone’s day. To make the cards, fold a sheet of card stock in half and lay the leaves out on the front of the card. Have your kids check that the card will open the correct way before they start spraying.
Another great alternative is having your kids lay the leaves out on a plain white t-shirt and using the spray bottles to spritz clothing dye on top. If you try this activity be sure to have your kids wear old clothes just in case they get ruined.
No matter which activity you choose, I hope this spray bottle art project is a blessing to you and your kiddos.
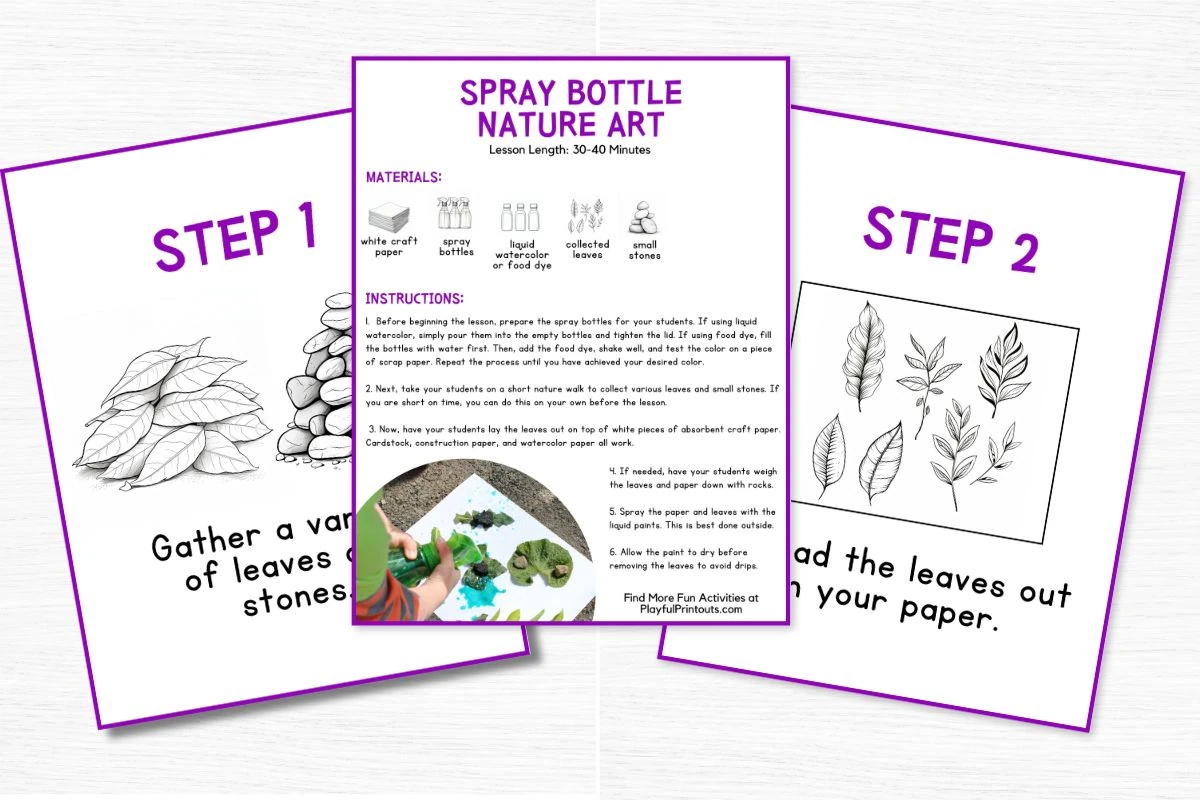
Grab Your Illustrated Instructions and Printable Lesson Plan
These illustrated instructions are great for all kids, especially those who need picture cues. There is 1 sheet with an illustrated materials list followed by step-by-step instructions on individual pages. Enjoy!
More Fun Nature Crafts to Explore